Step-by-Step tutorial on how to deposit data at DataLumos
Published:
DataLumos is an ICPSR archive for crowd-sourced deposits of government data resources. This tutorial shows how to create a deposit at DataLumos. You should read the Tips for Using DataLumos on their website first.
When and what to deposit
U.S. Government data are freely available. In fact, they are in the public domain within the US (the situation outside of the US is a bit more ambiguous). However, unless these data are preserved at the Library of Congress or the National Archives and Records Administration, they can be deleted or re-organized at any time, and data might be lost.1
You should deposit public domain or otherwise freely available data (e.g., CC-BY)
- when you first use them
- if they are not preserved elsewhere
If you are not in the US and depositing non-US data, you should preferentially use your local archives, such as
- Swedish National Data Service
- GESIS in Germany
- or more generally, re3data.org
Before depositing
Search existing holdings to see if the data have already been deposited:
- ICPSR (will search openICPSR and DataLumos as well)
- Dataverse (the Harvard Dataverse will also search through federated dataverses)
- DataCite a registry for dataset DOIs
- Google Dataset search
Start the deposit process
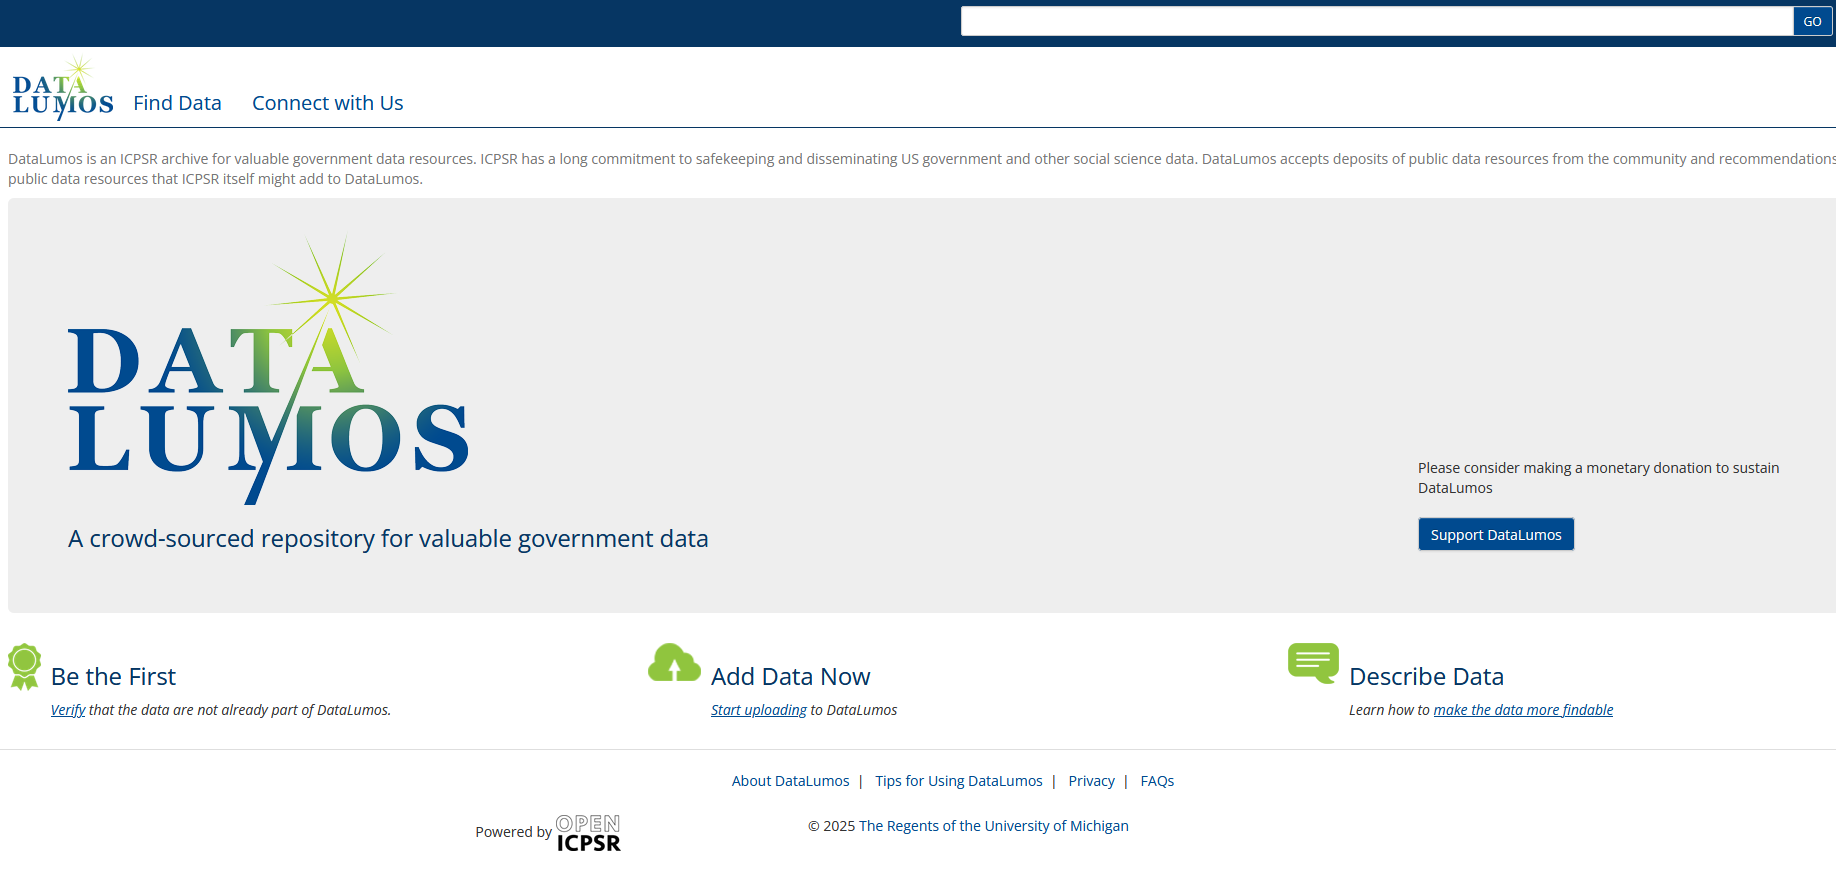
Go to the DataLumos, and choose Add Data Now:
 .
.
You may need to create an ICPSR account first.
Create a new project
Then, create a new project:

Name the project
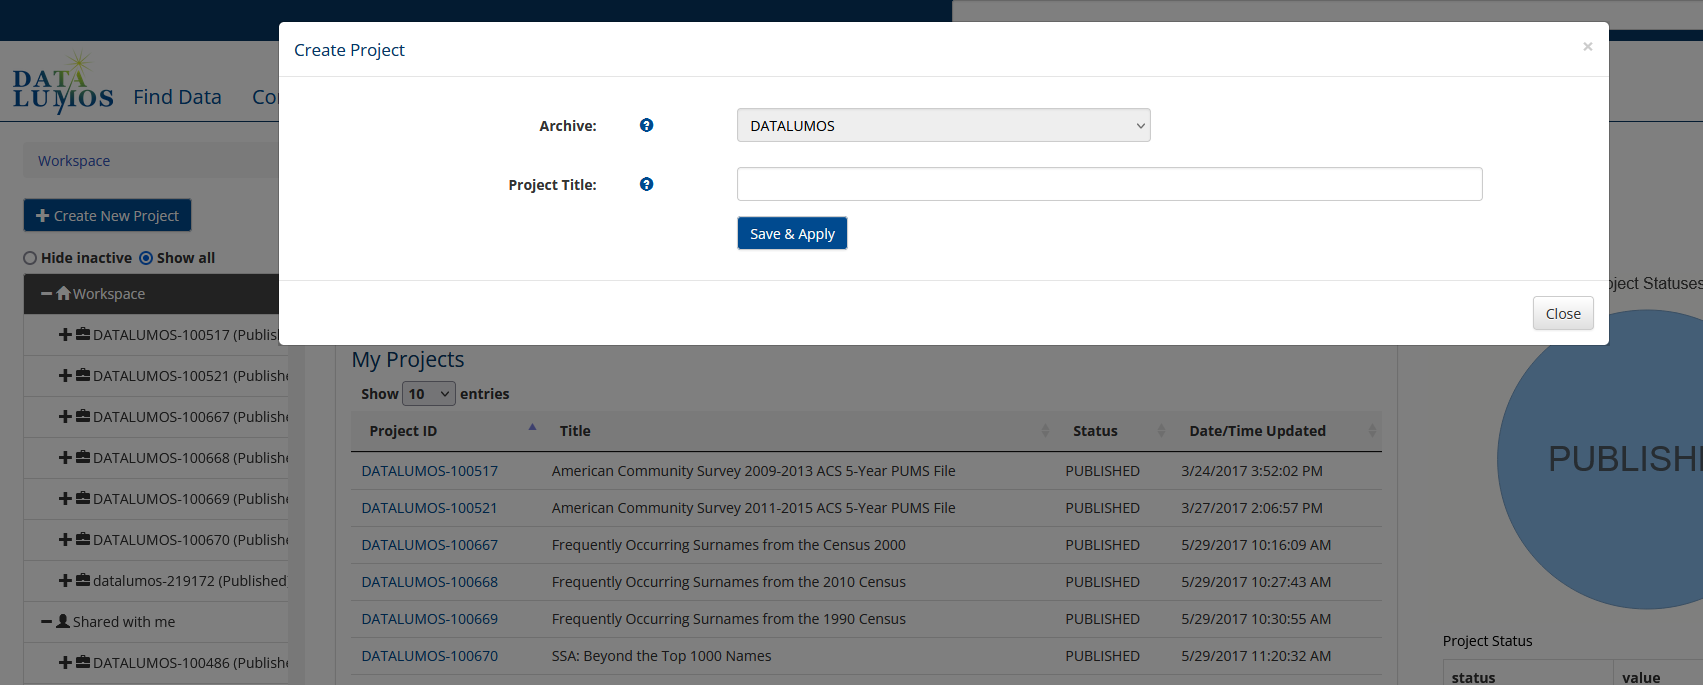
Title the project accurately and descriptively, preferably using the exact title provided by the agency originally issuing the data. This will help others find the data, and connect it with its original location.
Do not add your name, your paper, etc.
Describe the project
You should now provide additional information in the Project Description:
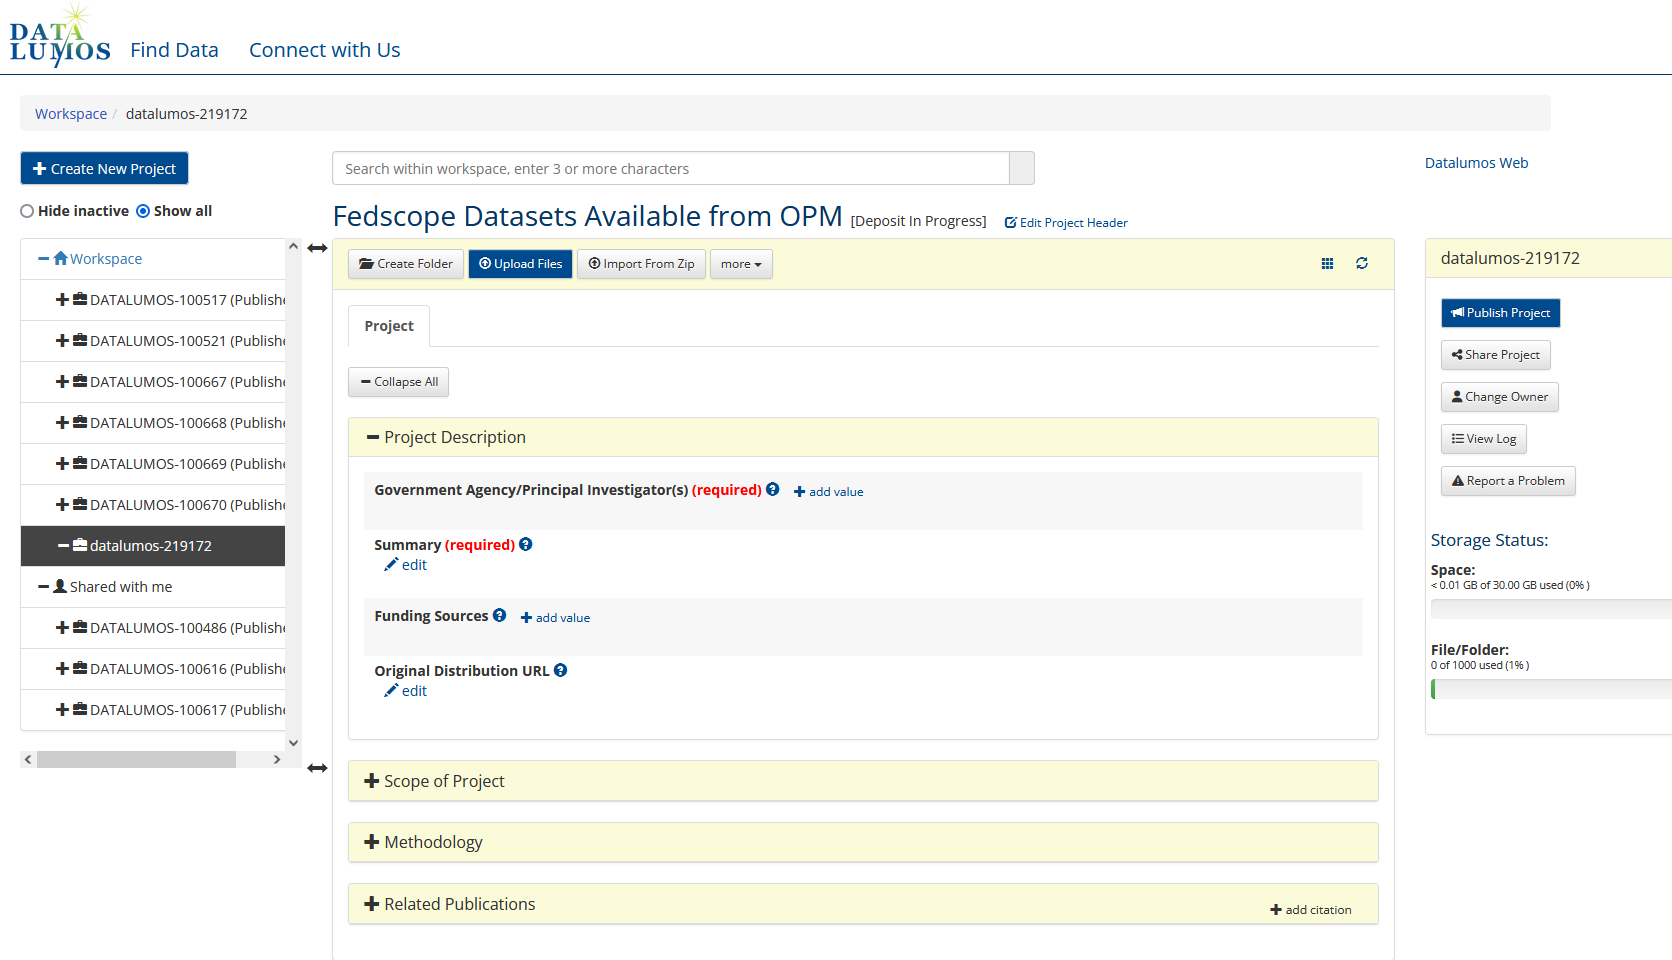
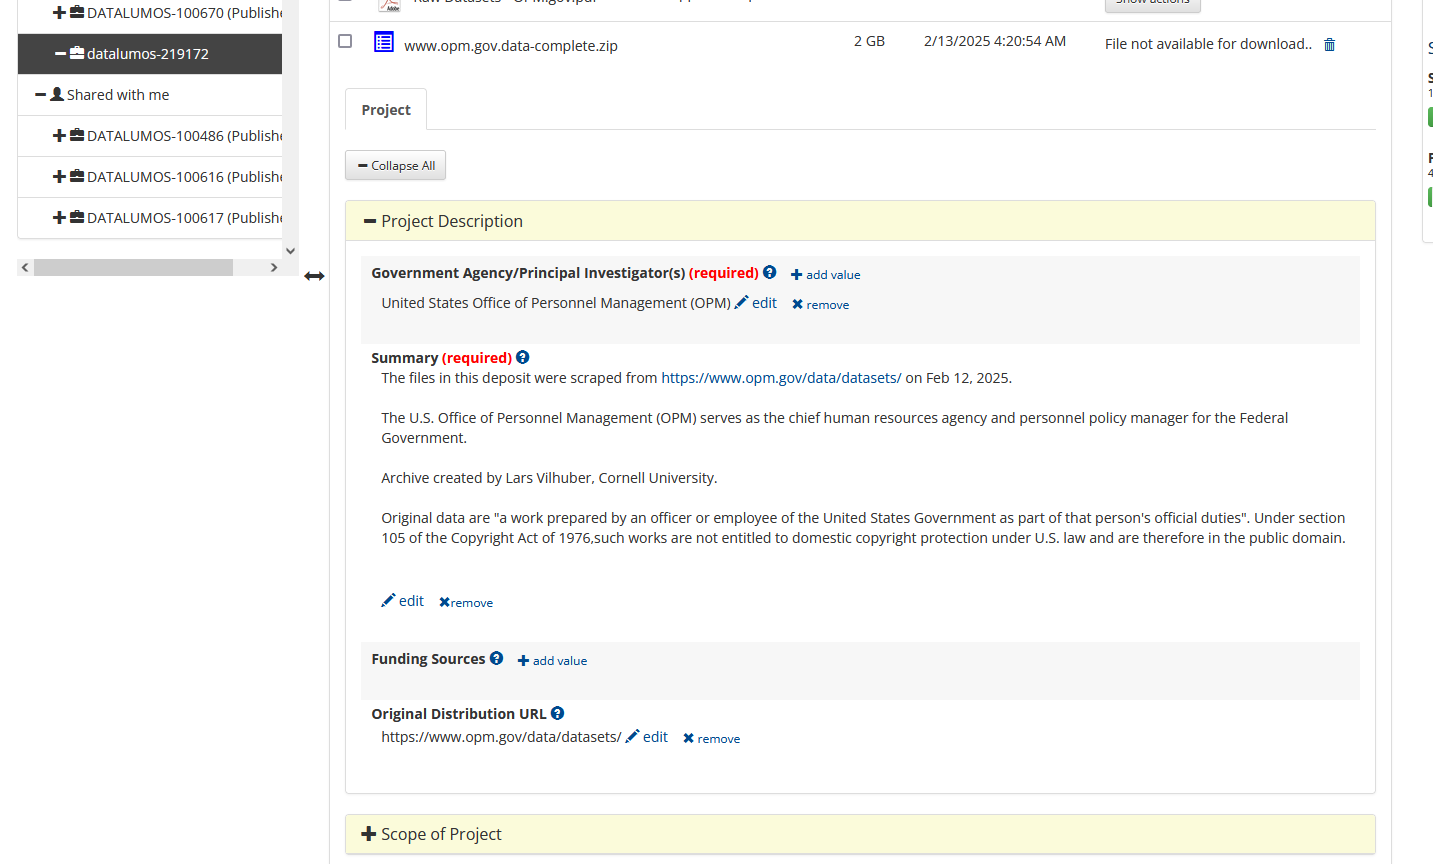
Data Producer (Government agency)
Data produced by or associated with a specific US government agency should list the agency as the author of the data in the Government Agency/Principal Investigator(s) field. Click on the + add value and switch to the Organization/Agency tab of the pop-up window.
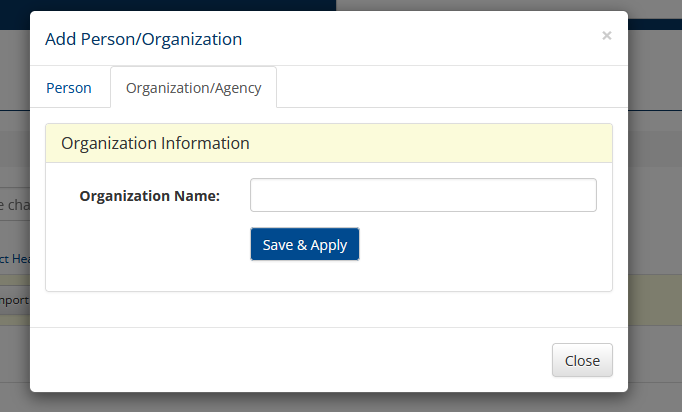
You should start typing, typically with the full name of the department without acronyms. In the example screenshot, while the agency is typically referred to as “OPM”, it was found by typing United States Office of P before the type-ahead found the agency. Try to avoid creating new variants of the name. However, if you cannot find it, simply write the name of the agency as accurately as possible.

Summary field
You should provide ideally relevant information taken verbatim from the original website. You can then add information on when the data were downloaded or scraped, and if you wish, who did this.
Original Distribution URL
Provide the URL where the data were originally found.
- Try to remove tracking parameters from the URL (anything after a
?) - If the URL is very long, try to find a shorter one that goes to the same location.
- If the data are found on a page with multiple datasets, provide the URL of that page. You can then add more information in the summary field.
Additional information (metadata)
- Try to capture a PDF or a screenshot of the website as it was when you downloaded it. This can be useful. The PDF can be uploaded as part of the next step.
- Also try to identify any additional documentation, such as codebooks.
Upload data files
Importing a ZIP file
You should try to preserve the data in its original arrangement, with any subdirectories. The best way to achieve this is to compile a ZIP file of the preserved data.
You then Import from ZIP, which will expand the ZIP file, preserving the directory structure. This makes it easier for others to download individual files.2
The Import functionality can handle ZIP files, but cannot handle other compression formats (RAR,7z, etc.). Please convert to ZIP before importing.
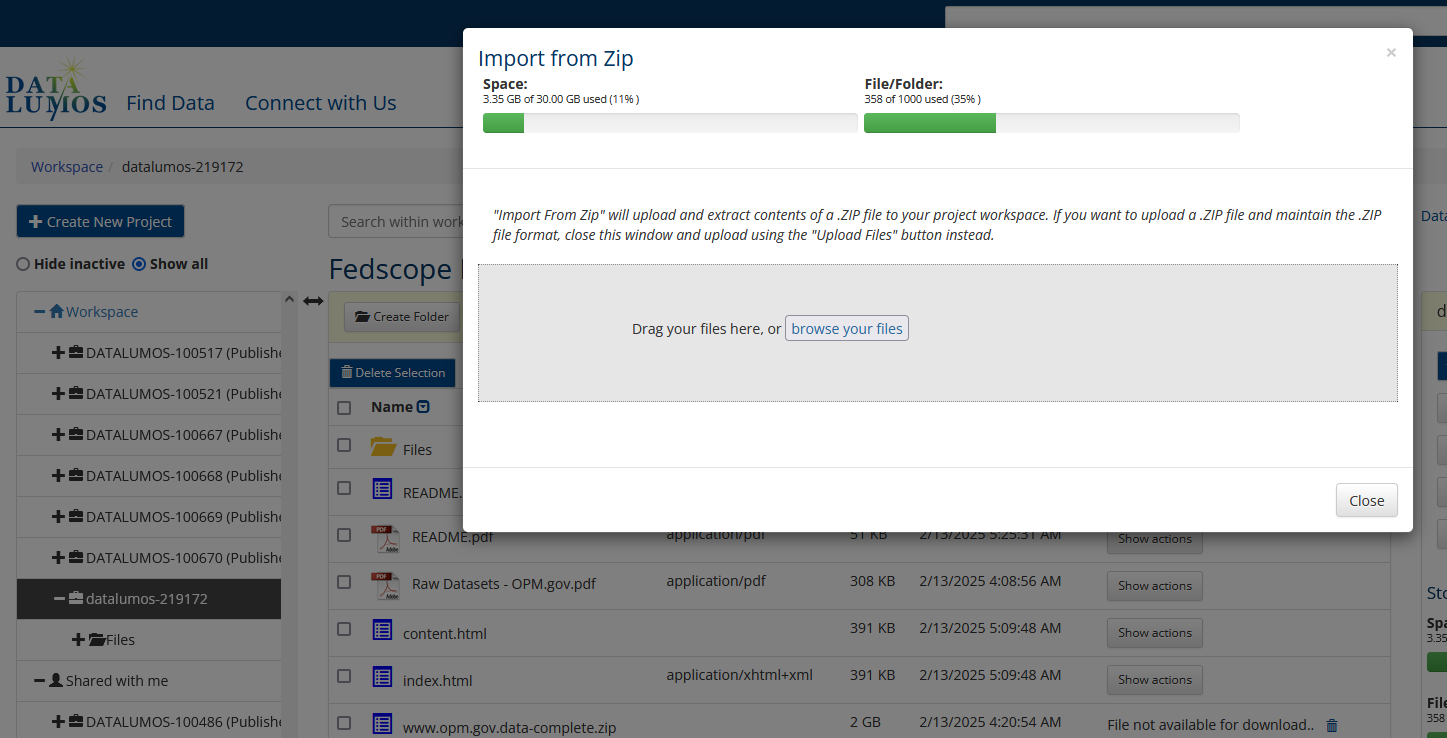
⚠️ WARNING: The process of both uploading and unpacking the ZIP file can take some time, depending on the size of the file. Be patient!
Uploading individual files
For other files, they can be added individually. Use the Upload Files button.
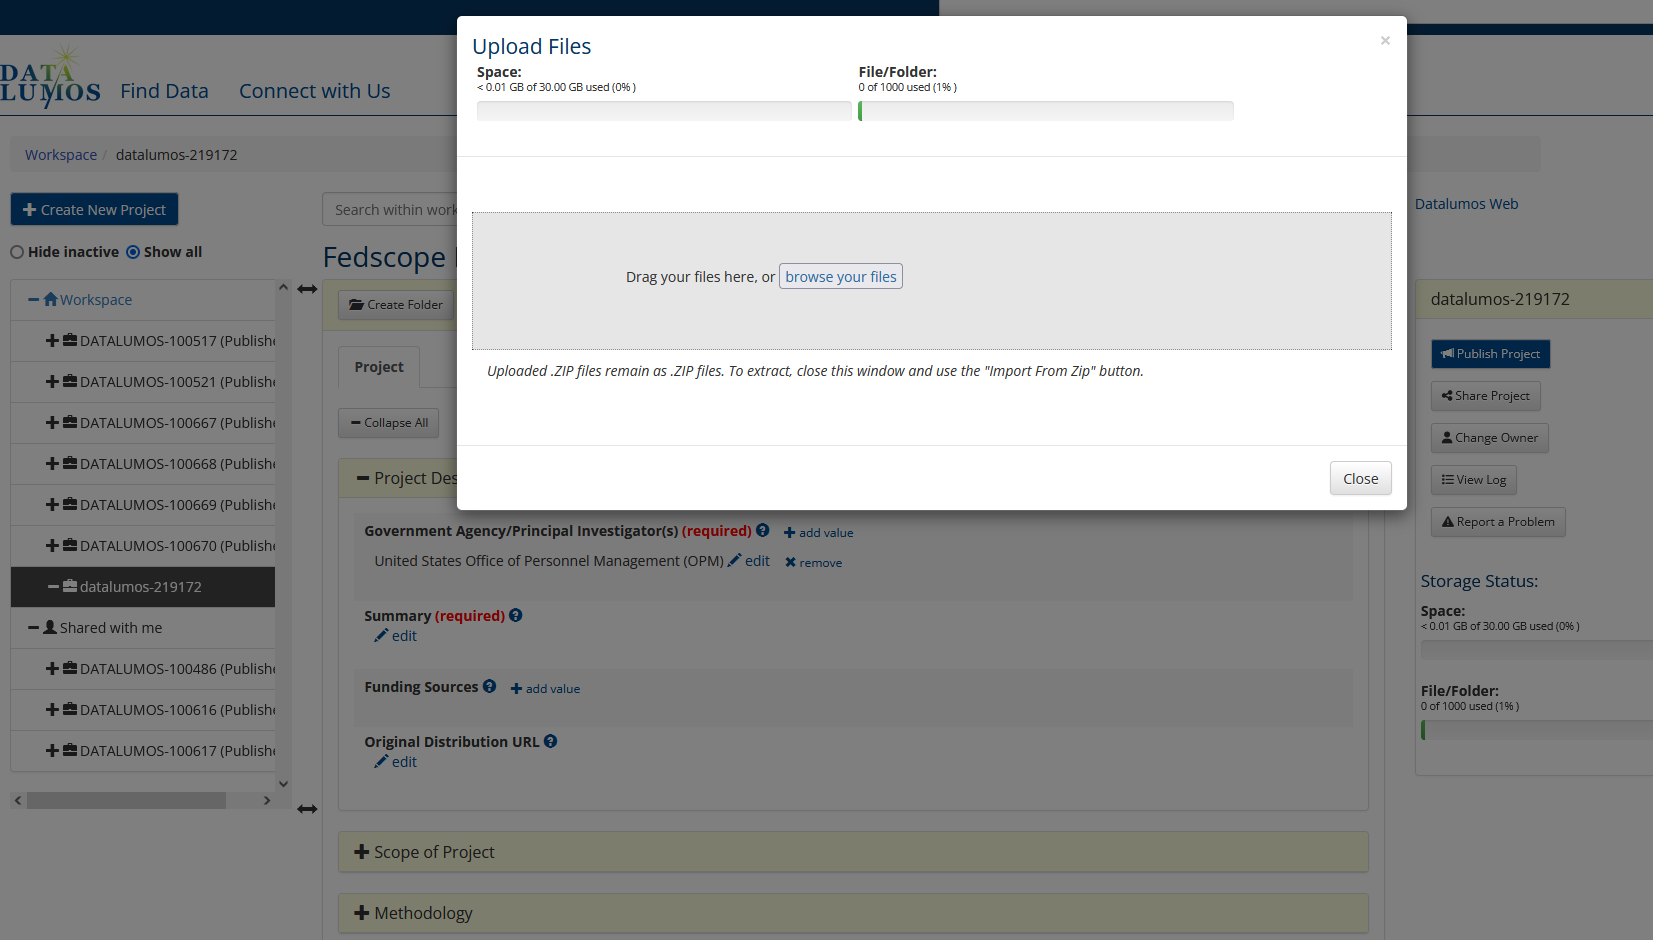
You can now choose, or drag-and-drop, the files to be uploaded. While files are being uploaded, others can be added
⚠️ WARNING: Files are immediately uploaded!
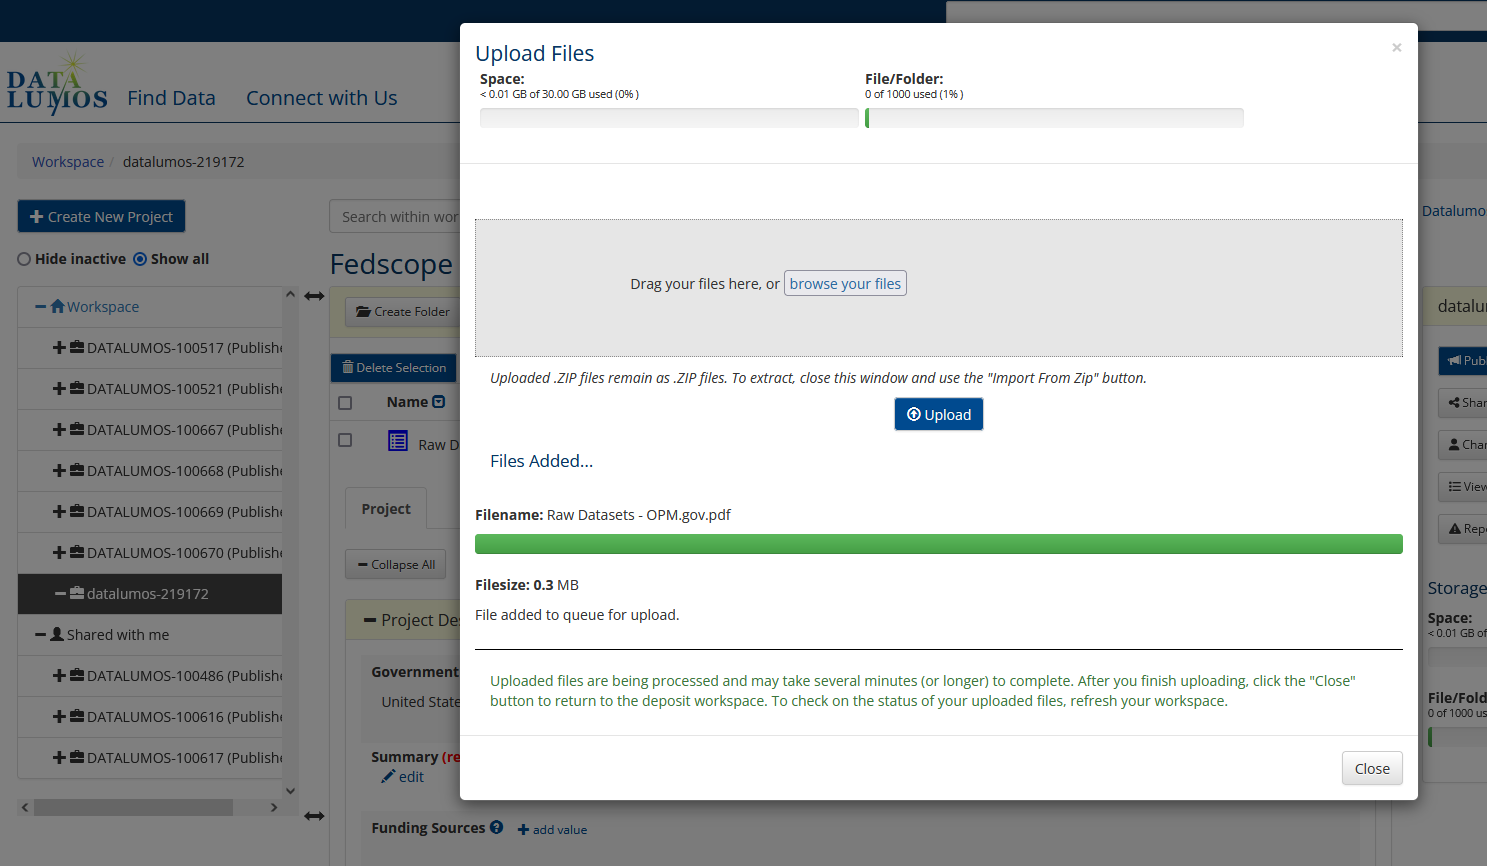
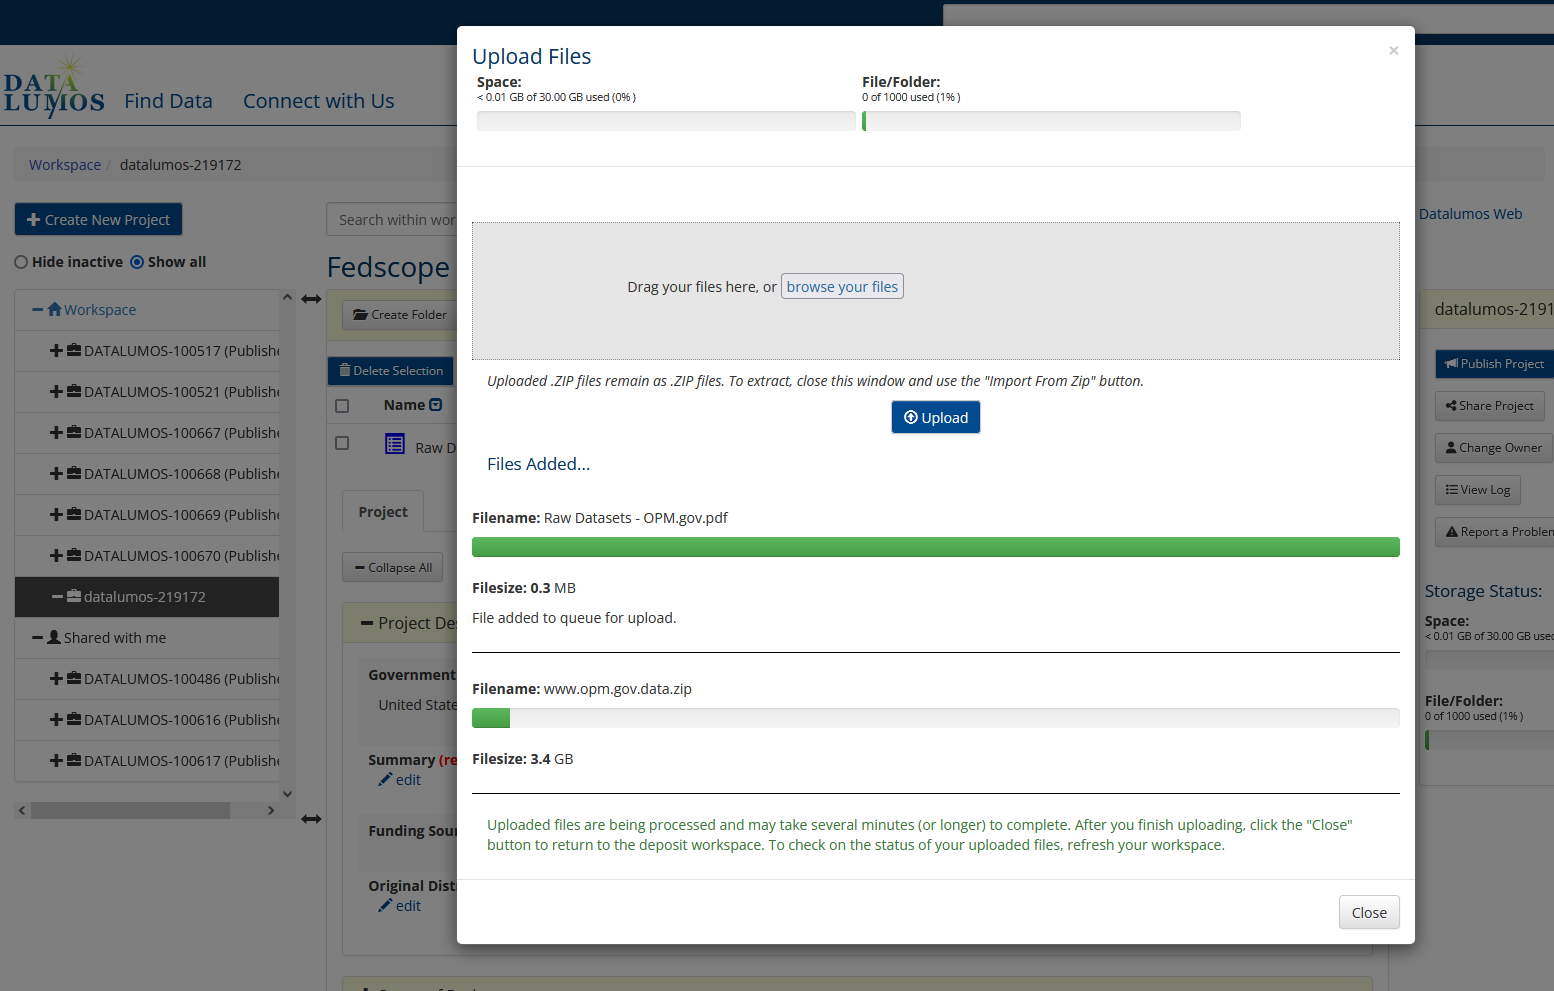
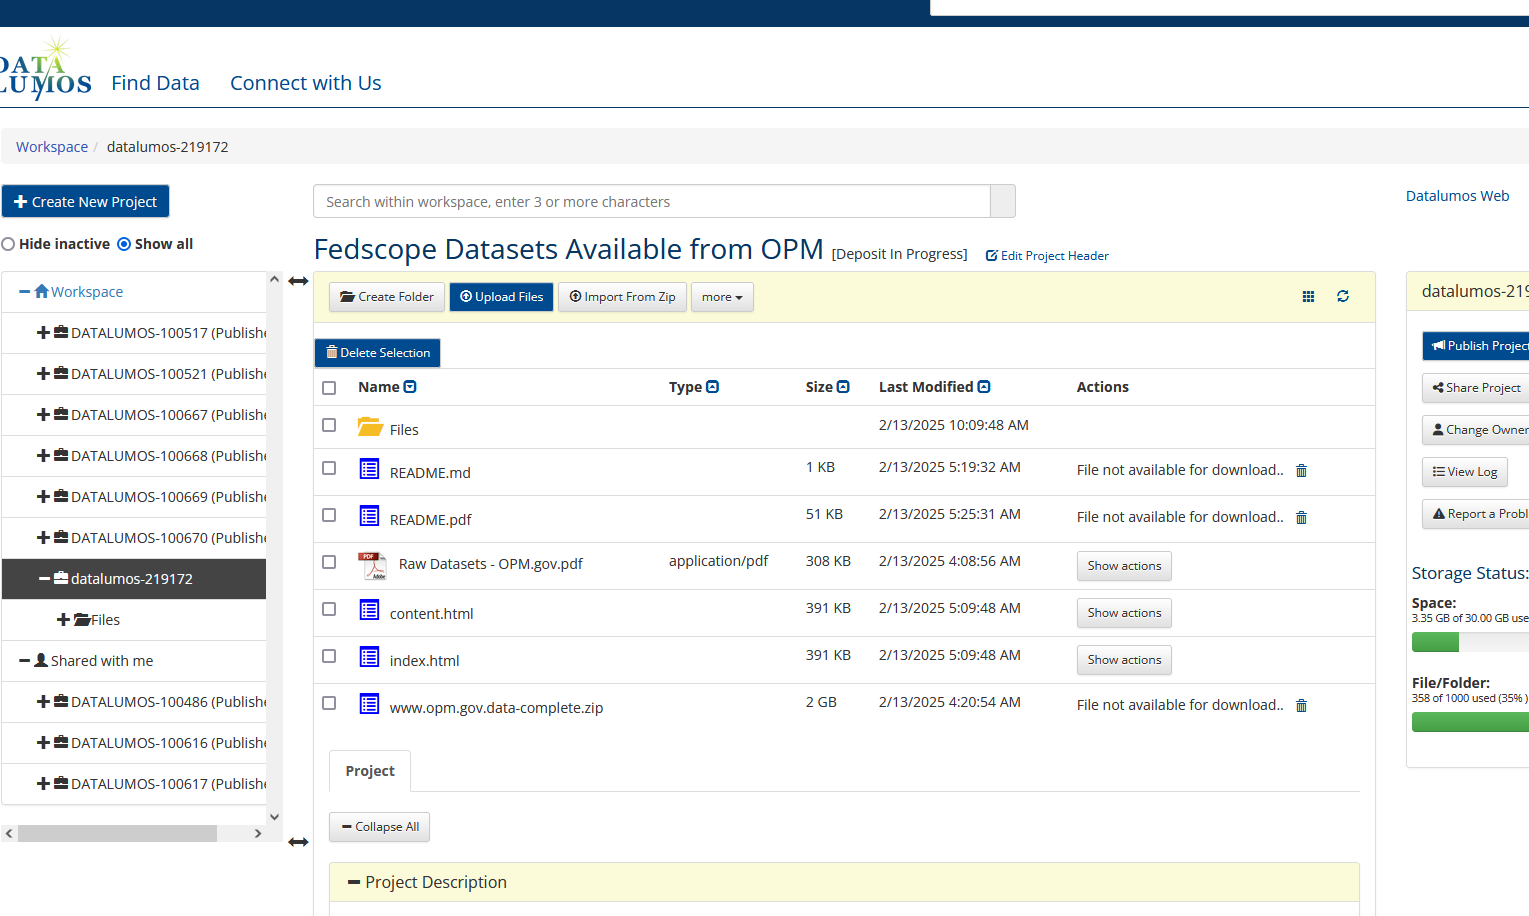
In the example, we also uploaded (not imported) a more comprehensive ZIP file that contained a complete mirror of the website. However, the core data files were
imported, and show up in theFilesfolder.
⚠️ WARNING: The process of uploading and then subsequently checking the files can take some time, depending on the size of the file. Be patient! ⏱️
Files that are still being checked are indicated with File not available for download 🗑️.
Publishing the deposit
Start the publishing workflow
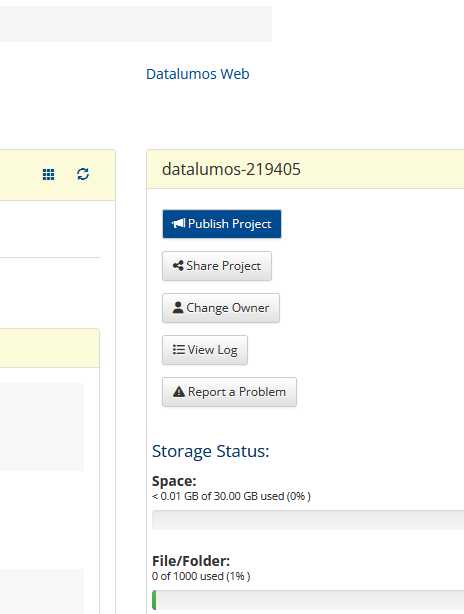
When everything is ready, on the right-hand side is a 📣 Publish Project button.
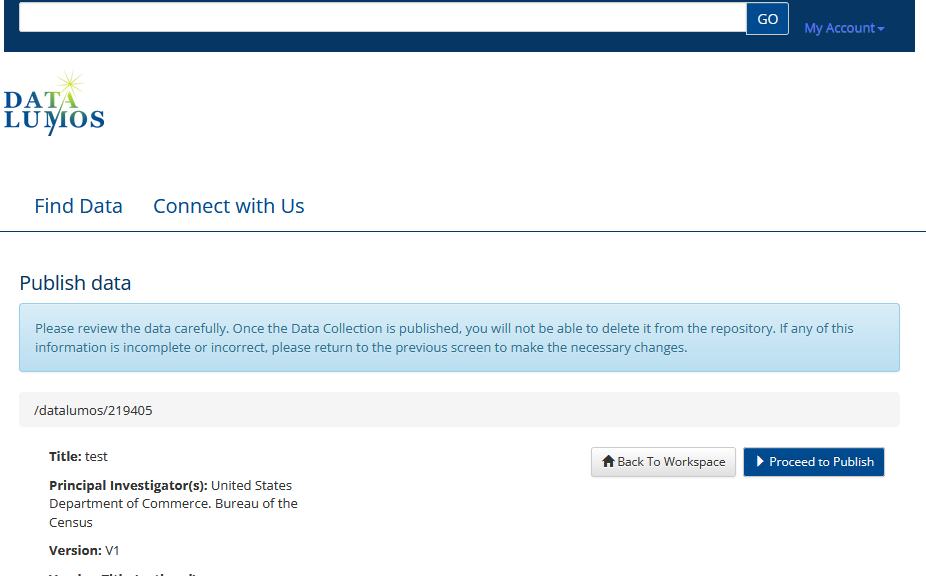
You can review the information as it will be published again:
Submission questions
You will then be presented with a page, asking various questions.
You should answer these questions in regards to the data in the deposit you are submitting. The answer should NOT consider any other data that have not been uploaded. Usually, if you downloaded it from a public website without registration requirements, the answer to the first two questions is “No”.
Can individuals be identified?

The normal answer to this question is “No.”
Are the data sensitive?

The normal answer to this question is “No.”
Distribution question
If both previous answers are
No, this question does not appear.
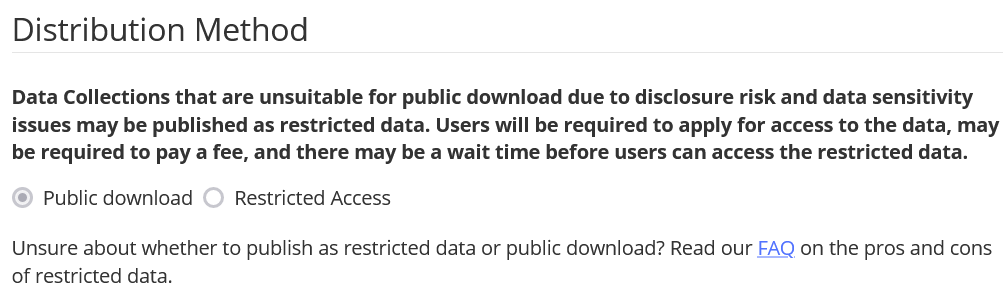
You should answer this one as a function of the earlier answers. “Public download” means users will be registered users of openICPSR and consent to the license (next question), without further controls. “Restricted access” means that data will be distributed through ICPSR’s Restricted Data Access Mechanism.
Delayed Dissemination
Usually, you would answer this with No.
Choose a license
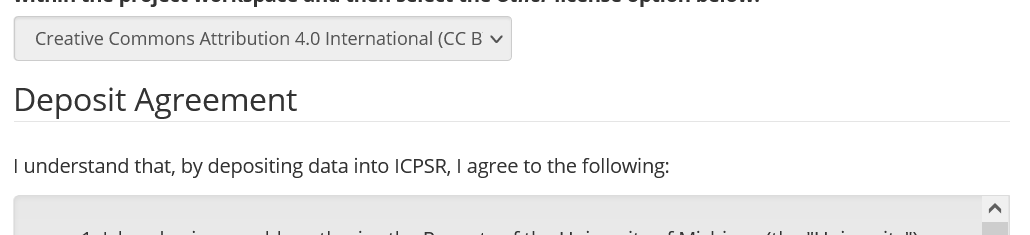
You should choose a license from the drop-down menu. If depositing data that came from a U.S. government website, you would normally choose “Public Domain mark”.
Read the agreement and consent
Reminder that you should always read the agreements that you consent to!
Finalizing
Press “Publish data.” It might take a while for the data to be published.
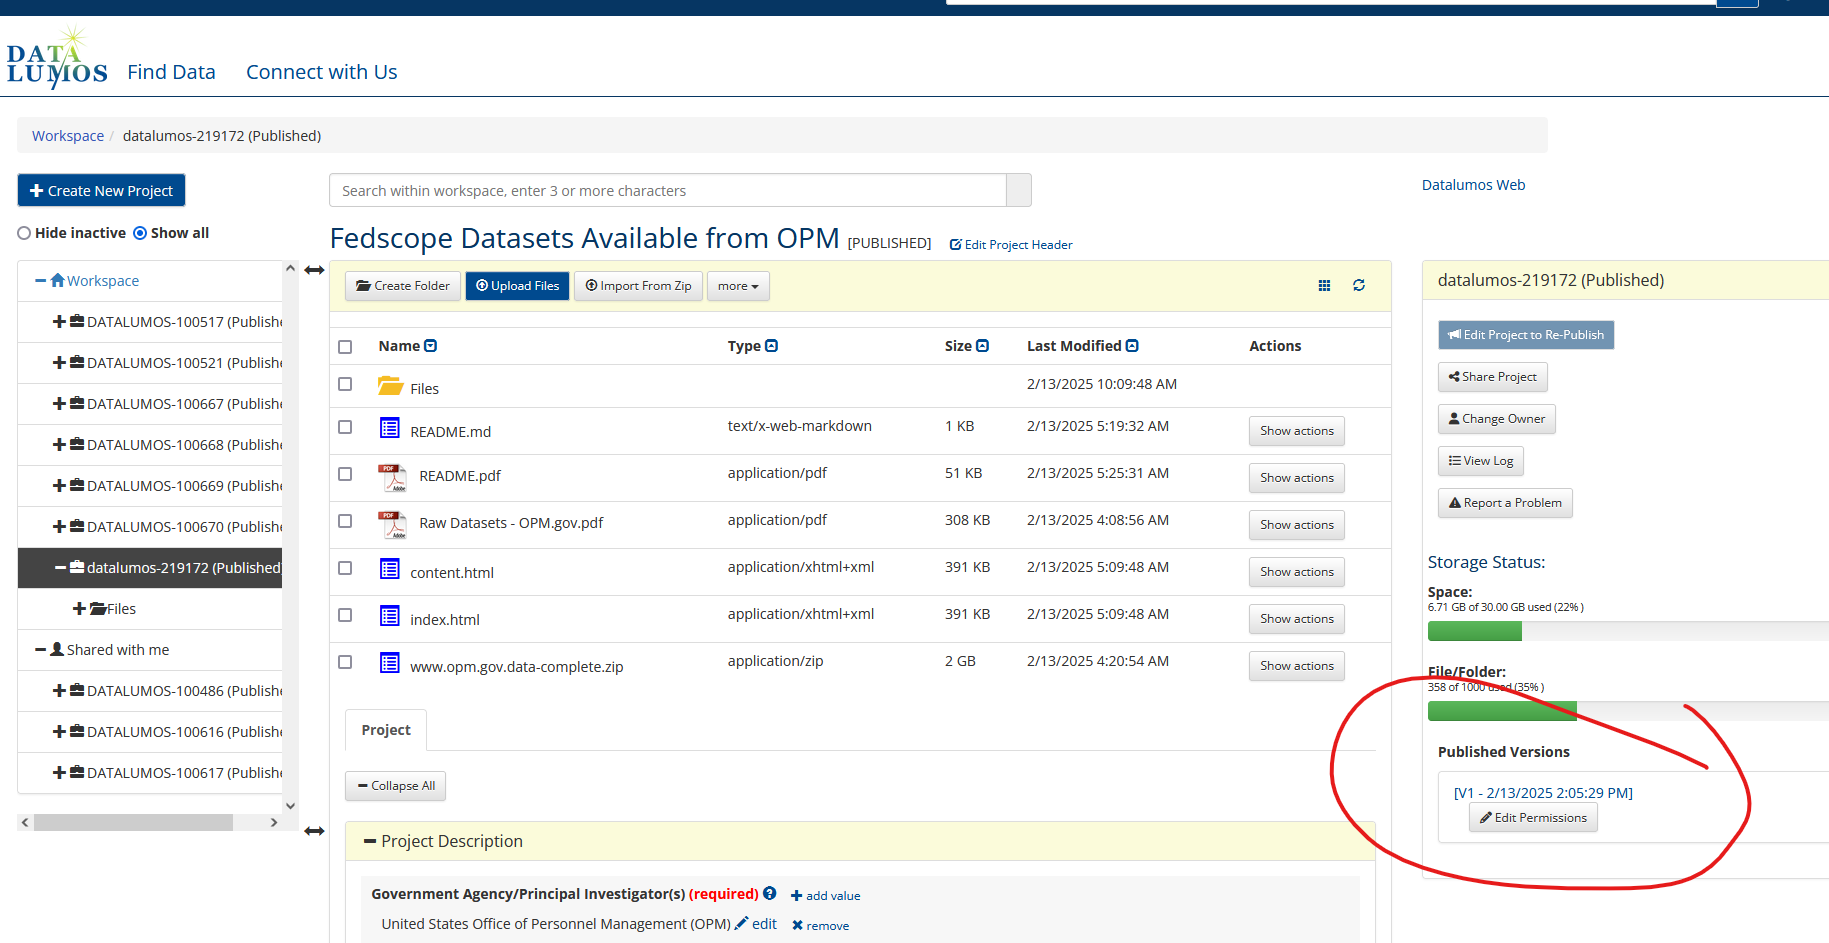
Final outcome
Back in the workspace, you should now see, bottom right, a list of the Published Versions:
If you click on the version number, you will be taken to the published version:
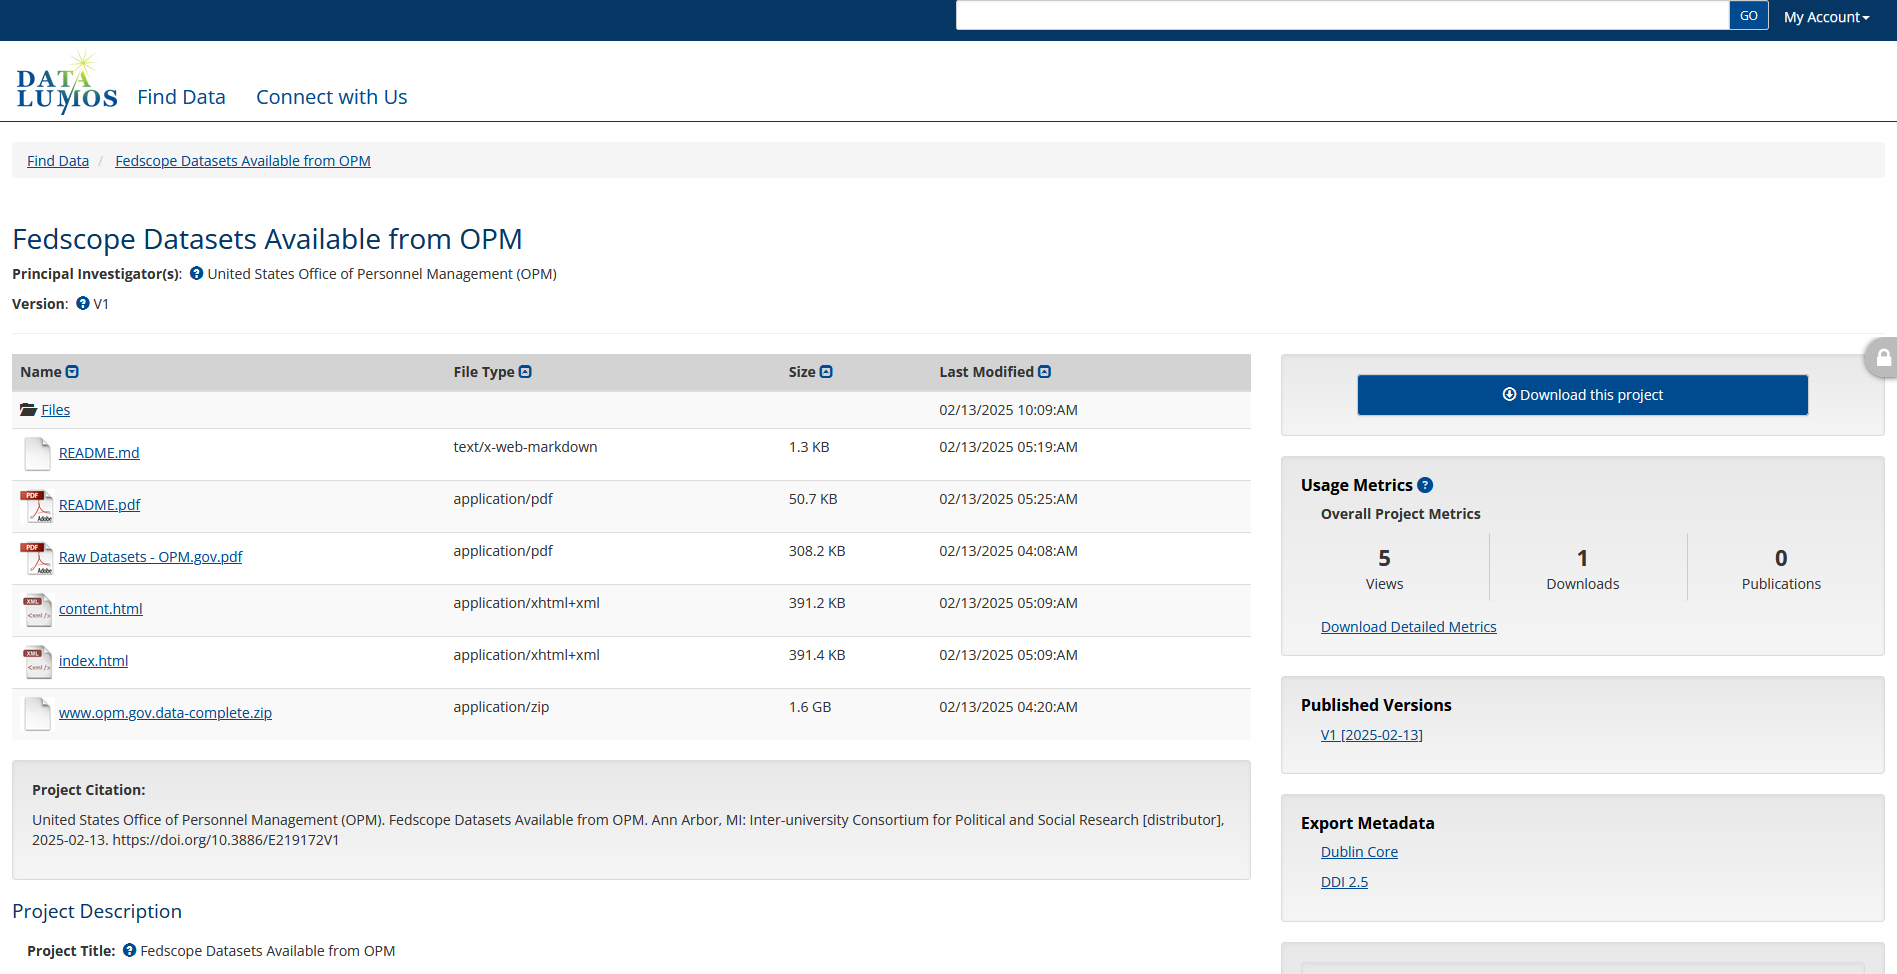
Citing the deposited data
Remember to cite the data in any publication that uses these data. You should use the provided Project Citation, adapted to your citation style.
United States Office of Personnel Management (OPM). Fedscope Datasets Available from OPM. Ann Arbor, MI: Inter-university Consortium for Political and Social Research [distributor], 2025-02-13. https://doi.org/10.3886/E219172V1
Remember to use the DOI, and not the visible URL in your browser bar. To learn more about how to cite data, see ICPSR guidance and Guidance by Social Science Data Editors.